
What to focus on in your first runs
Spend your early energy on food, not on attack cards. Food is the only in-combat healing the game gives you, and the game deliberately refuses to give you a block mechanic, so every fight costs health that has to come back some other way.
The path of least resistance is a card that kills an enemy and turns it into something edible. Upgrading that one card at camp raises your offence and your healing at the same time, which is why it beats spreading upgrades across several attacks. A card such as Bloodthirsty Butcher, which heals a little health after a kill, does the same job passively.
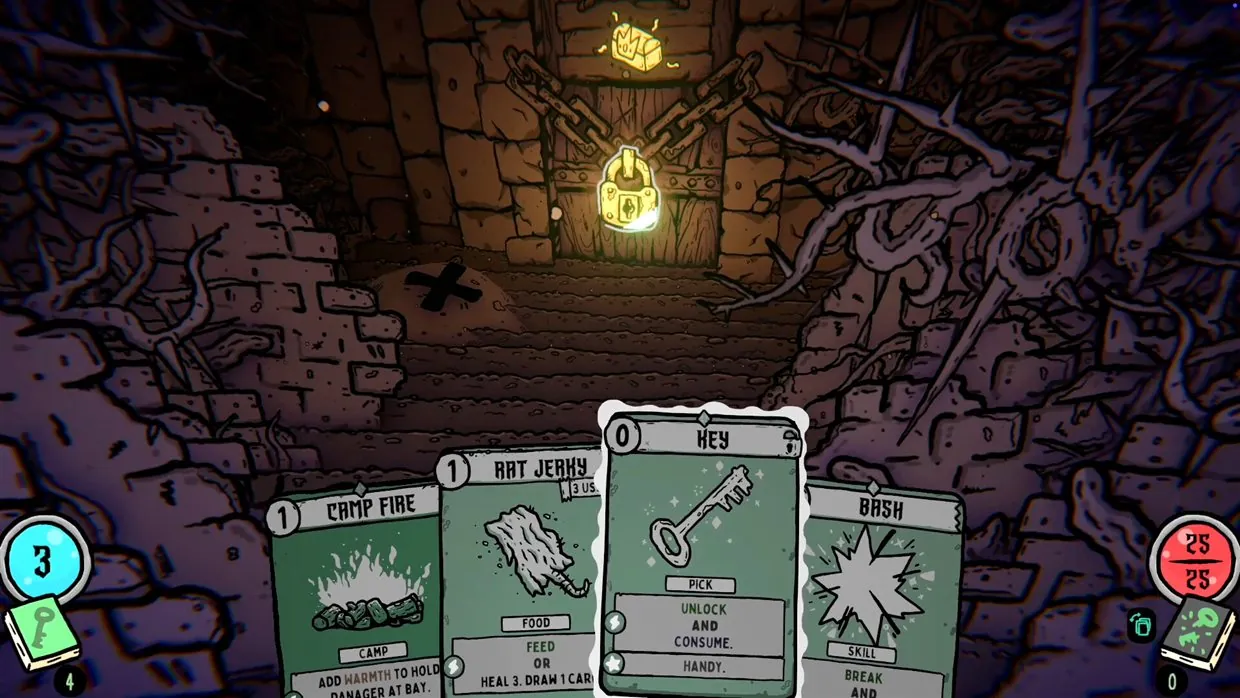
Keep a stock of exploration consumables. Shovels, keys, flashlights, campsites and any source of ignition such as lighters or matches should never run dry, because each one unlocks a route or a resting point you cannot get back once you pass it.
How the Combat and Explore decisions fit together
Treat the two decks as a division of labour rather than two versions of the same thing. Explore handles movement, digging, locked doors and warmth. Combat handles whatever is standing in the room you just walked into.
Explore is where a run is shaped, because that is the deck that reaches shops, chests and camp buildings. Combat is where a run is spent, because that is the deck that pays for the resources you just collected. The practical consequence is that stamina refreshes after each fight, so clearing an easy group of mushrooms is usually cheaper than avoiding it.
- Explore deck
- Digs for new cards, opens doors, lights campfires for warmth, and unlocks new weapons and skills.
- Combat deck
- Survives the encounters. Food cards inside it are what let you heal mid-fight.
- Shared resource
- Shop currency is also a combat resource: food in the caves, data in the facility.
Because shop money and combat healing draw on the same pool in the caves, spending yourself to zero before a fight is a real risk. A community starting benchmark puts it at six units of food held in your Combat deck before the first shop.
The two routes, and why they change your plan
Early Access launched with two dungeon paths and two separate card pools, so the advice above is not equally true in both.
| Route | Healing rule | What it introduces |
|---|---|---|
| The caves (Gloom map) | You can heal during combat, and the route is built around food and camp. | The forgiving introduction to the game. |
| The Facility | No healing in combat at all. Camp is the only recovery. | Gunk, familiars, decay and machines. |
If you are still learning the card economy, start in the caves. A first run in the Facility removes in-combat healing and adds piles of cards that grow more expensive while they sit in your hand, which turns a survivable mistake into a run-ending one.
A third section of the game has been described by the developers as not yet in place during Early Access. Interface wording and route names can change between patches.
What to do with camp buildings and shops
Point camp upgrades at the attack you already win fights with, not at your weakest card. The Practice Dummy is the usual first stop because raw damage is the upgrade that keeps working in every later fight.
Camp buildings differ from run to run, but the ones that scale a deck tend to offer the same kinds of choices: adding a flat amount of damage, adding extra damage when the attack is fatal, giving the card an extra attack, or multiplying its damage outright. A community card database counts 96 upgrades spread across 33 camp buildings, and a building usually offers only a few of its upgrades at a time.
- Practice Dummy adds flat damage, vulnerable, extra attacks or a damage multiplier.
- Kitchen converts killed enemies into toasties, which are the food cards you lean on for healing.
- Geode adds flat damage relative to the gloom you have stored, which grows into roughly eight damage per camp visit later in a run.
- Grimoire adds vulnerable, repressed rage, or energy when an attack kills.
One player-reported shopping order that recurs in community threads is explore shop first, then a max-health increase, then the combat shop. Buying damage before you have the health and food to reach the next fight is the most common way a promising run stalls.
Mistakes that end first runs
Digging and opening everything you find is the classic first-run trap. Exploration consumes stamina, and a player who spends it all on holes and chests reaches the locked door with nothing left to open it and has to burn a rest instead.
The other recurring mistake is deck size. Later in a run the game offers you the chance to forget a card of your choice, and using that on a weak combat card that only wastes a turn is better than keeping it for sentimental reasons. A slim deck finds its best cards more often, which matters more than owning more cards.
Vulnerability is worth taking seriously on tough enemies: applying it first and then unloading your attacks is a stronger sequence than spreading damage evenly.
Where to go next
Once a run is stable, the questions that matter become more specific: which character you are playing, how the map reveals itself, and which cards are worth building around. The pages below go deeper on each of those.